This feature is common to all sharemundo links® solutions.
Step 1: Go to the 'Time and expenses' section in the navigation menu.
Step 2: Click on 'Enter my hours' in the top right-hand corner of your screen.
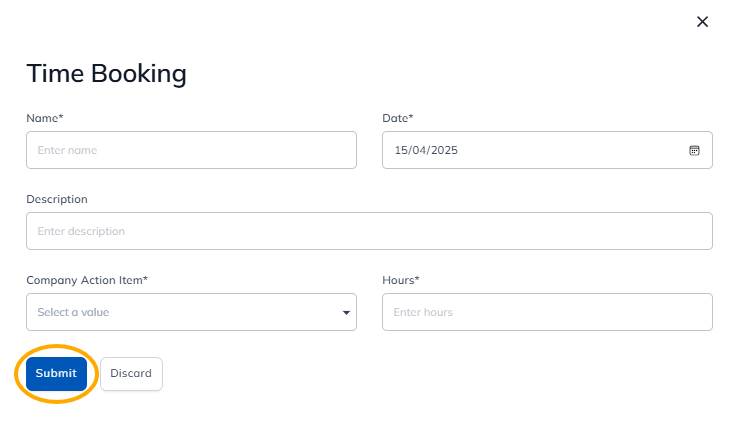
Step 3: Fill in the various fields and click on 'Submit'.
Notes:
- fields marked with * are mandatory;
- you'll find details of the various fields below the image.
 sharemundo links® solution core solution
 sharemundo links® solution company' type
Details of individual fields
- Name *: enter the name of your timesheet
- Date *: enter the date on which you worked your hours
- By default, the current date is entered; you can modify it by clicking on the calendar icon or by typing it directly into the field.
- Description: enter the description of your timesheet
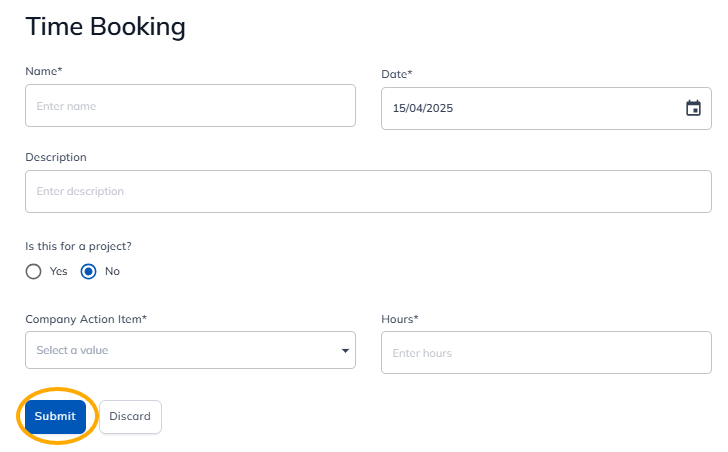
- Is it linked to a project? *: Select 'No' if you are entering hours that relate to a corporate action.
- This field is only available if you have a sharemundo links® solution that includes project management.
- Click here for for details on how to enter hours for a project
- Company action *: select the action to which your hours relate from the drop-down menu
- Hours *: enter your hours worked
Step 4: The company administrator must approve your timesheet.
However, if you are the company administrator, your timesheets are not subject to approval and will be automatically approved.